I’ve been an avid photographer since I was a teenager. It’s always seemed like magic to me, and continues to this day.
I started using a black & white darkroom when I lived in Calgary, at a place called the Photo Nut Haven where you could rent use of a darkroom by the hour. I spent all my free time there learning how to develop film and make prints, getting tips from people around me and discovering a whole new photographic experience.
Later, when I lived in Winnipeg, I picked up a used large format Besseler enlarger that I set up in my spare room. I still have the enlarger, though it hasn’t seen a roll of film in about 10 years when I started using digital cameras. I like nothing better than a finely crafted (read expensive) digital camera.
But this weekend, my ten-year old son helped me experience the original thrill of my first introduction to photography. He built a camera out of a tin can.
It was a school project he selected on his own – a pinhole camera. Although I’ve read and seen pictures taken with pinhole cameras, I’ve never used one, and despite understanding the theory, I was pretty skeptical that he’d be able to get anything more than some fuzzy grey shapes.
Never underestimate a 10 year old with a tin can, some scissors, information from the internet, books from the library, and a glue gun.
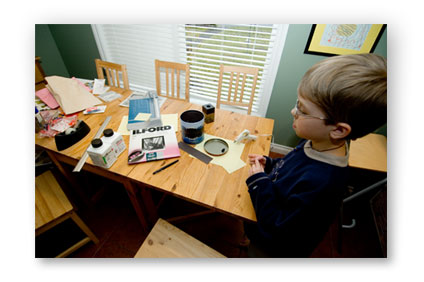
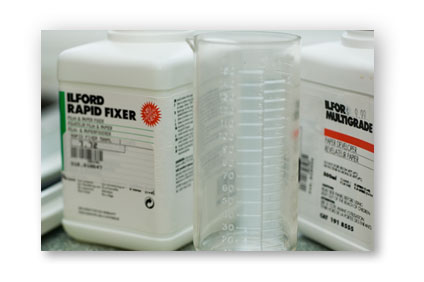
Our only ‘high-tech’ ingredients were photographic paper (to capture an image) and chemistry for developing. We opted for exposure on paper rather than film so that we could keep things simple. The guys at Kerrisdale Cameras on Lonsdale where great about helping him out, and they even gave him a ‘student project’ discount.
My son lined the inside of his tin can with black craft paper, and used my drill to make a 3/8 inch hole in the bottom of the can. He then taped a piece of tin foil over the hole. His books said to make a 1/75th inch hold in the tin foil, so he used a sewing needle to make a tiny pin-prick in the foil.
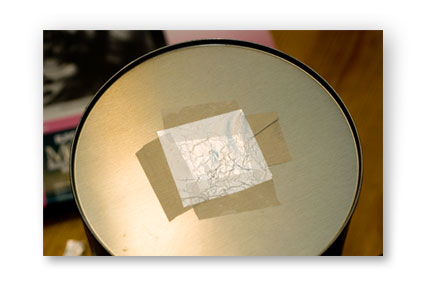
Meanwhile, the lid got a “binder clip” paper clip hot-glued to the inside as a means of holding the photo paper in place.
Next, a flap of left-over black paper and a twist-tie turned into a shutter to cover the pinhole.
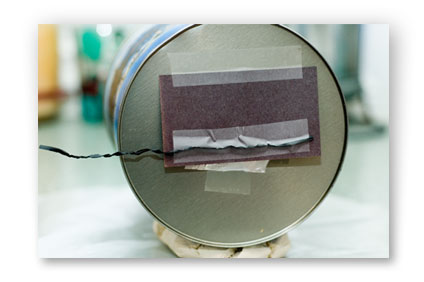
A lump of modeling clay on the bottom as a type of tripod, and the camera is done !
Into the darkest bathroom in the house, loaded up some paper, and out to the driveway to take a photo. The first exposure was 10 seconds and the paper came out totally white, we knew we needed lots more time.
I posed for the 2nd photo, and with a 2 minute exposure, here’s what my ten-year-old’s camera produced:
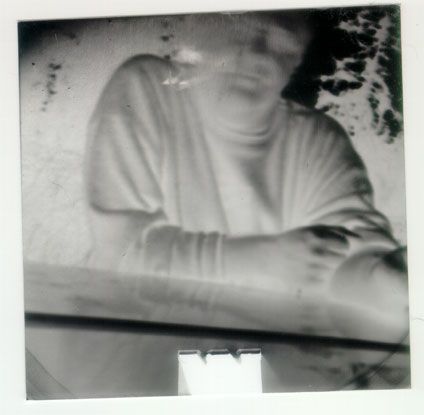
Because he was exposing photo paper, he got a negative of course. So, a quick pass through the scanner, and ‘invert’ in photoshop, and VOILA !
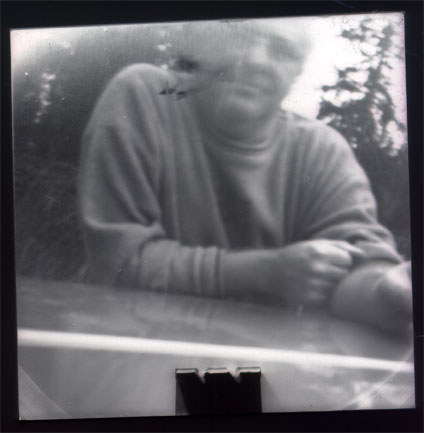
My son has become a whiz at cutting paper in the dark, loading up his camera, and finding someone to pose. The cat won’t sit still long enough (yet) but he’s working on it. Meanwhile, he’s learning photography at its most basic level – figuring out how to adjust for light conditions, how to develop the paper, and how to work in a darkroom.
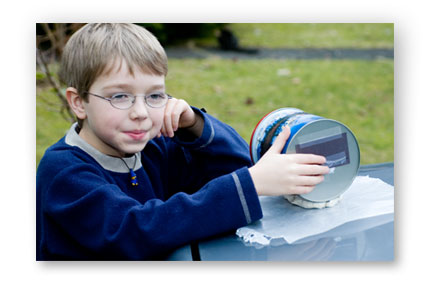
The photographer at work, about to open the shutter.
Wikipedia’s pinhole camera page.
Kodak’s pinhole camera page.

